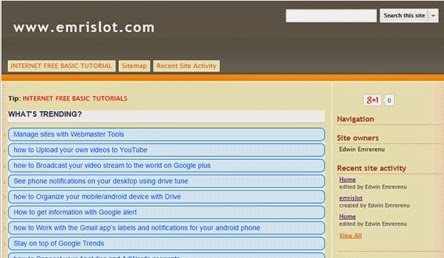
how to Set up themes using the Google Sites layout editor for blogger
When you’re first starting out with a website, it can be difficult to know where to turn, what kind of layout you might want, and how your content – text, images and video – will fit into the website. This is true whether you are paying a professional to create a website for you or you’re simply using a service such as Google Sites. Fortunately, there are a lot of templates available that can get you up and running with a ‘ready-made’ website design from the get-go. While this is a tremendous time-saver, it does tend to mean that your website isn’t unique and doesn't necessarily reflect all the values and messages you might have hoped to convey.
Wouldn't it be nice if you could start with a template, then customize it to suit your own preferred logo, layout and font choices? This is exactly what the Google Sites layout editor does! By using the layout editor you can quickly make a template your own, incorporating your business’s colours and logo, tweaking the layout and customizing the typography to ensure you have a unique and memorable website design. Best of all, it’s not at all complicated to do. Follow the steps below to see how quickly you can get started. how to improve your blog page rank through backlinks
how to Set up themes using the Google Sites layout editor for blogger
- Create a site: Sign into Google and create a new website. Click on the Create button to load the site setup wizard. Enter a name for your website and choose the Blank template option.Choose base theme: Scroll down to open the themes area. Browse the list and choose one that most closely resembles the design you have in mind. The closer the theme is to your desired result, the less work you’ll have to do.
- Additional info: Optionally, add a site description by revealing the More Options area, then enter the Captcha code to verify. Finally, click the Create button at the top of the page to generate your website.
- Open the editor: With the site created, you’ll be redirected to the homepage. From the menu in the header area, click on the More button to reveal the site configuration menu. Choose the ‘Edit site layout’ option.
- Add and remove: In the editor you can remove sections of the design that you don’t want, or add missing elements. You can also configure the individual characteristics of each element. Click on an element to select it.
- Change the size: Click the pencil icon for an area to edit its size and position. If you click on a sidebar, for example, you can choose if it should sit to the left or the right of your main content area, and how wide it should be.
- Edit static content: Some content remains the same across every page, such as your footer. You can edit this static content easily by clicking on it, then using the pop-up box to enter text, images, tables and more.
- Edit the header: One of the most important identifying aspects of your website is the header area, as this contains the name of your site and the logo. Click on the header within the layout editor to edit its properties.
- Edit the navigation: Once you have more pages in your site, you can edit the navigation bar by clicking on it to add or remove pages from your menus. This allows you to easily include extra pages or exclude hidden pages.


Post a Comment